Manage your team & permissions
Add managers and staff to your boardingon.ai company and control exactly what each person can do with granular, per-person permissions.
Add the people who help you run onboarding, and give each of them exactly the access they need.
Your team is the managers and staff who run onboarding behind the scenes — not the hires working their plans. This article shows you where to add them, and how to control what each person can do.
Where team settings live
Everything about your team lives in one place. In the left nav, under "Company," click Settings, then open the Team members tab. At the top you'll see a short line describing the page: "Managers and staff who run onboarding. Each person's access is set with granular permissions — not just a role."
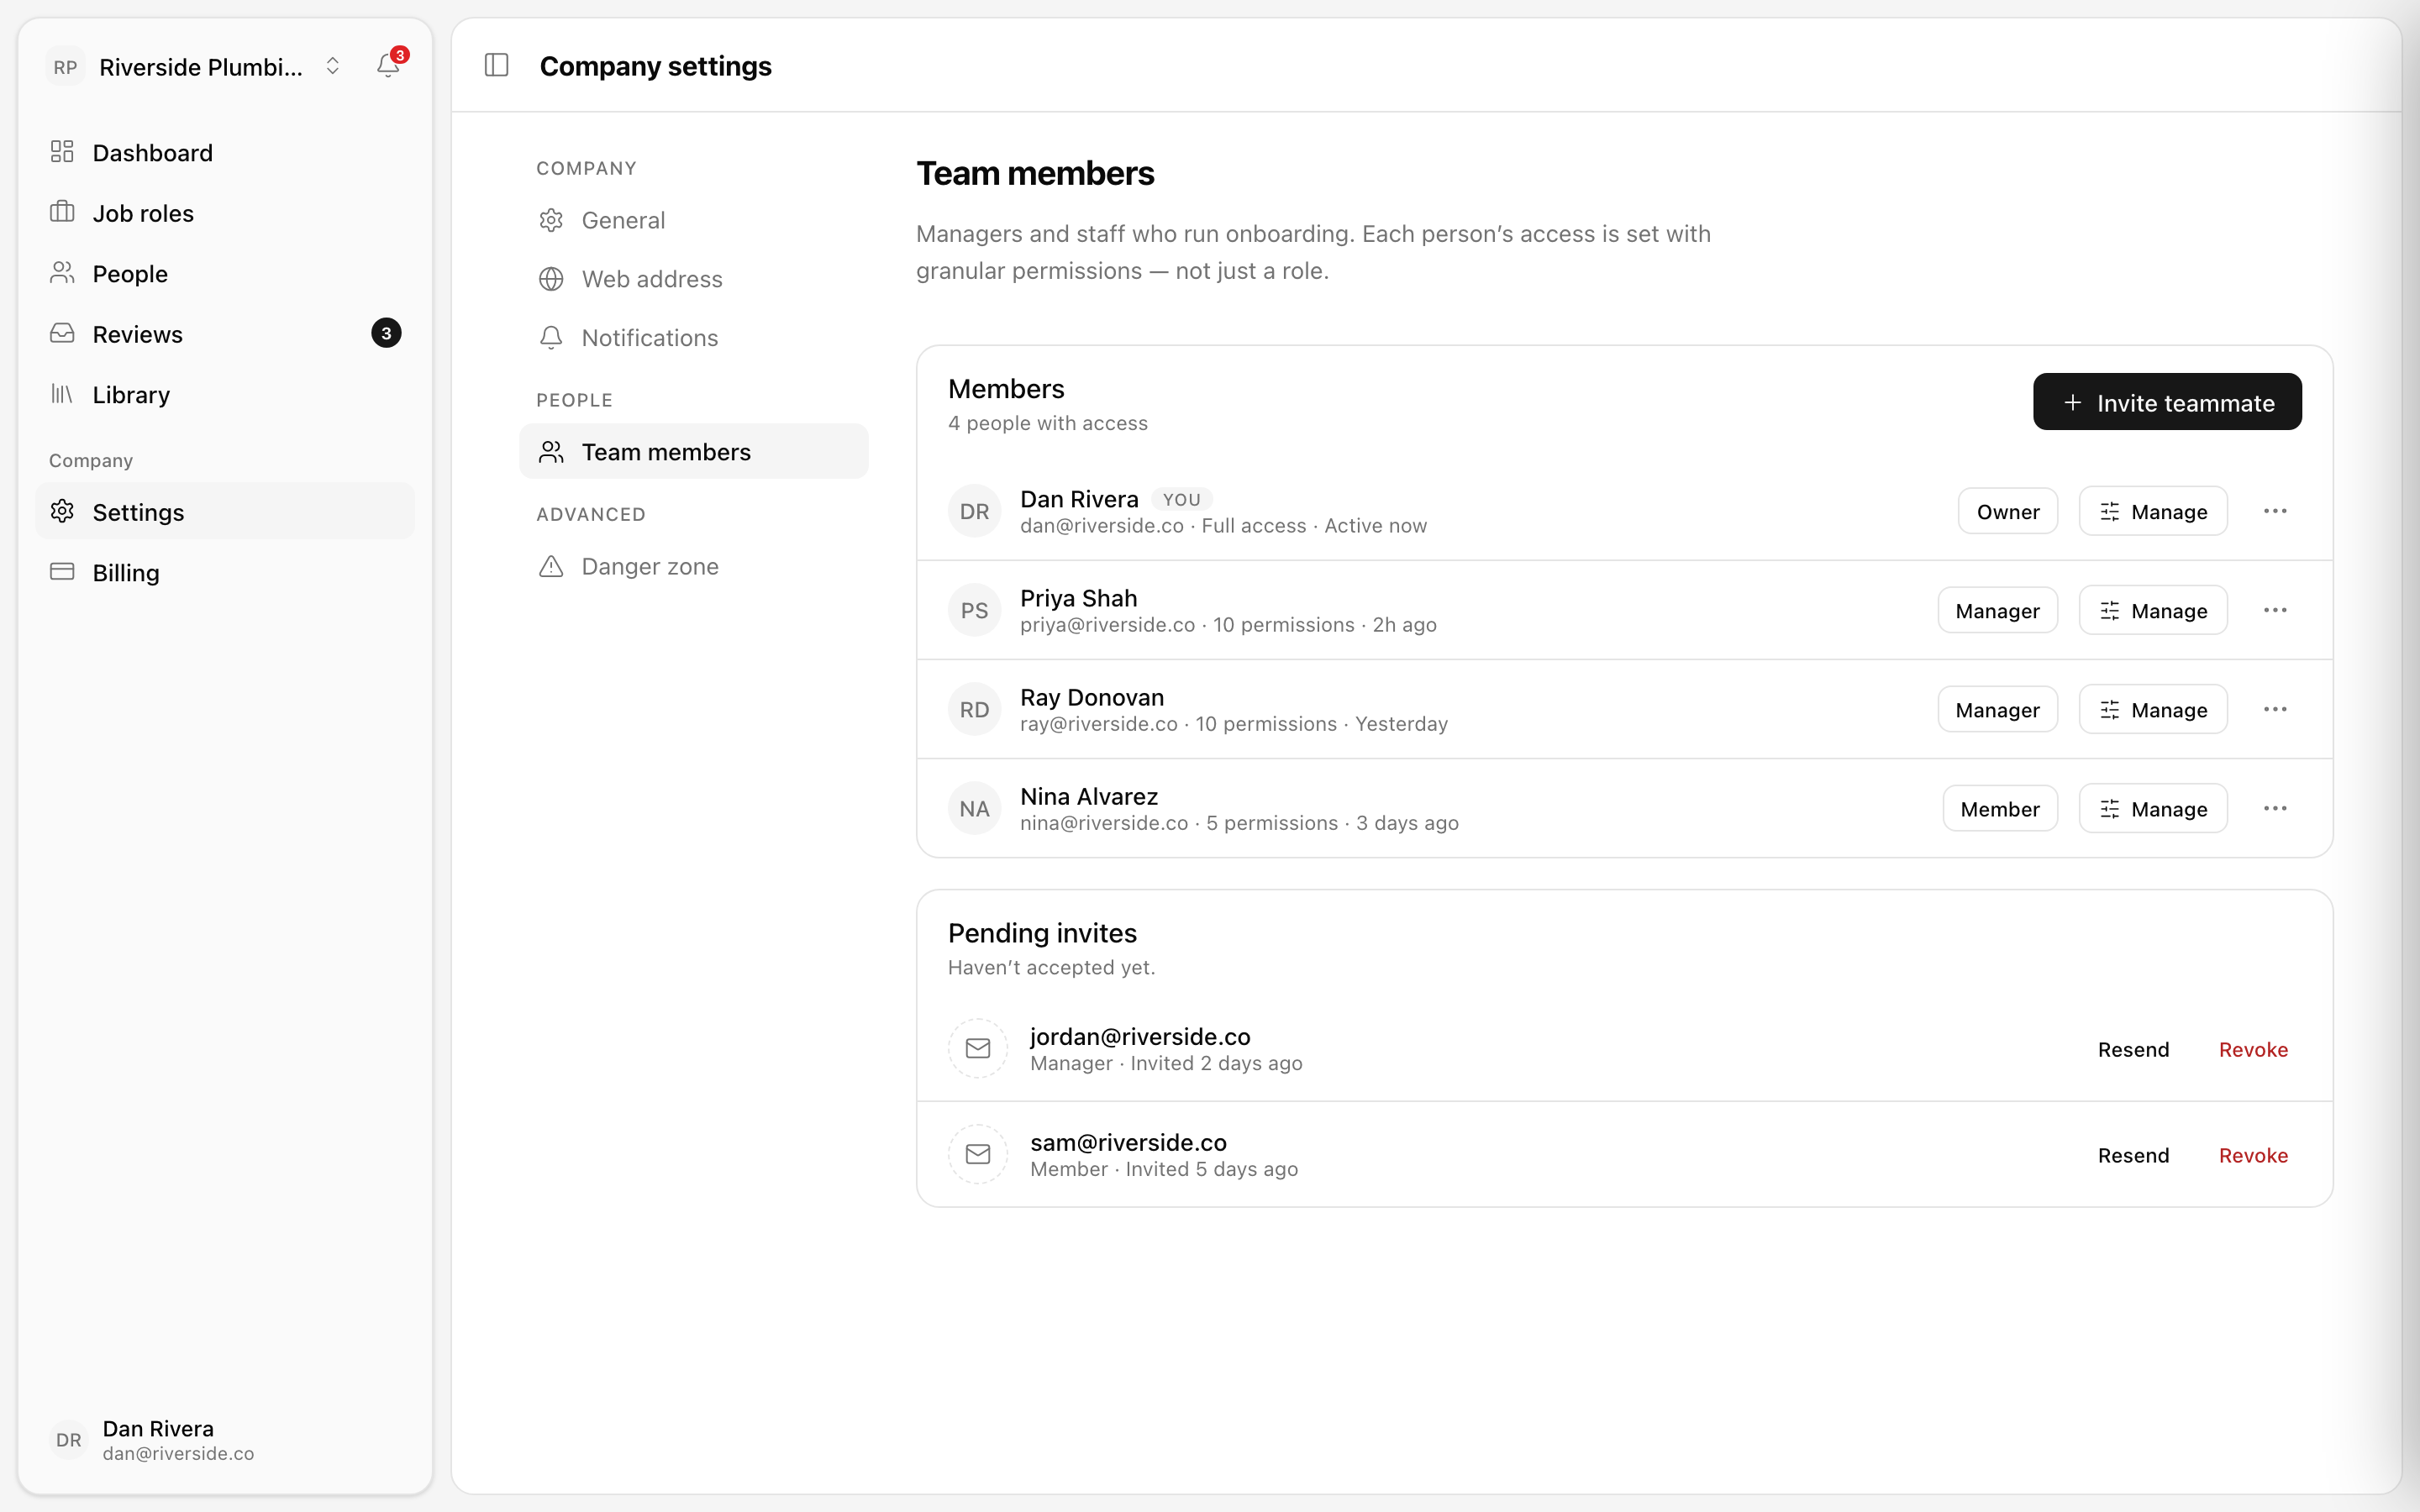
This is your roster of everyone who helps run onboarding at Riverside Plumbing. Each row is a person, with their role, their access, and a way to adjust it.
Roles are the starting point — permissions are the real control
Every person has a role badge: Owner, Manager, or Member. Think of a role as a preset — a ready-made bundle of permissions that gets someone up and running quickly.
- The Owner (that's you, if you created the company) has full access.
- A Manager preset grants a broad set of permissions.
- A Member preset grants fewer.
But the role is only where a person starts. What actually controls their access is the set of granular permissions on their row. You'll see this as a count next to each person — one might show "10 permissions," another "5 permissions." That number is what they can truly do.
To adjust someone's exact access, click Manage on their row. From there you can fine-tune any person beyond their preset, so their access matches their real job — not just a blunt role.
Tip: Because access is permission-based, you can hand someone precisely what they need and nothing more. For example, you can let a manager run reviews without giving them access to billing or company settings.
Add a teammate
Adding someone takes one click.
- On the Team members tab, click Invite teammate.
- Send the invite to the person you want to add.
- Until they accept, they'll appear under Pending invites.
For anyone who hasn't accepted yet, their pending invite gives you two options: Resend (send the invitation again) and Revoke (cancel it). Once they accept, they move into your team roster with their role and permissions in place.
Your company details show up on invites
The name and logo people see aren't set on this tab — they live on the General tab of the same Settings area.
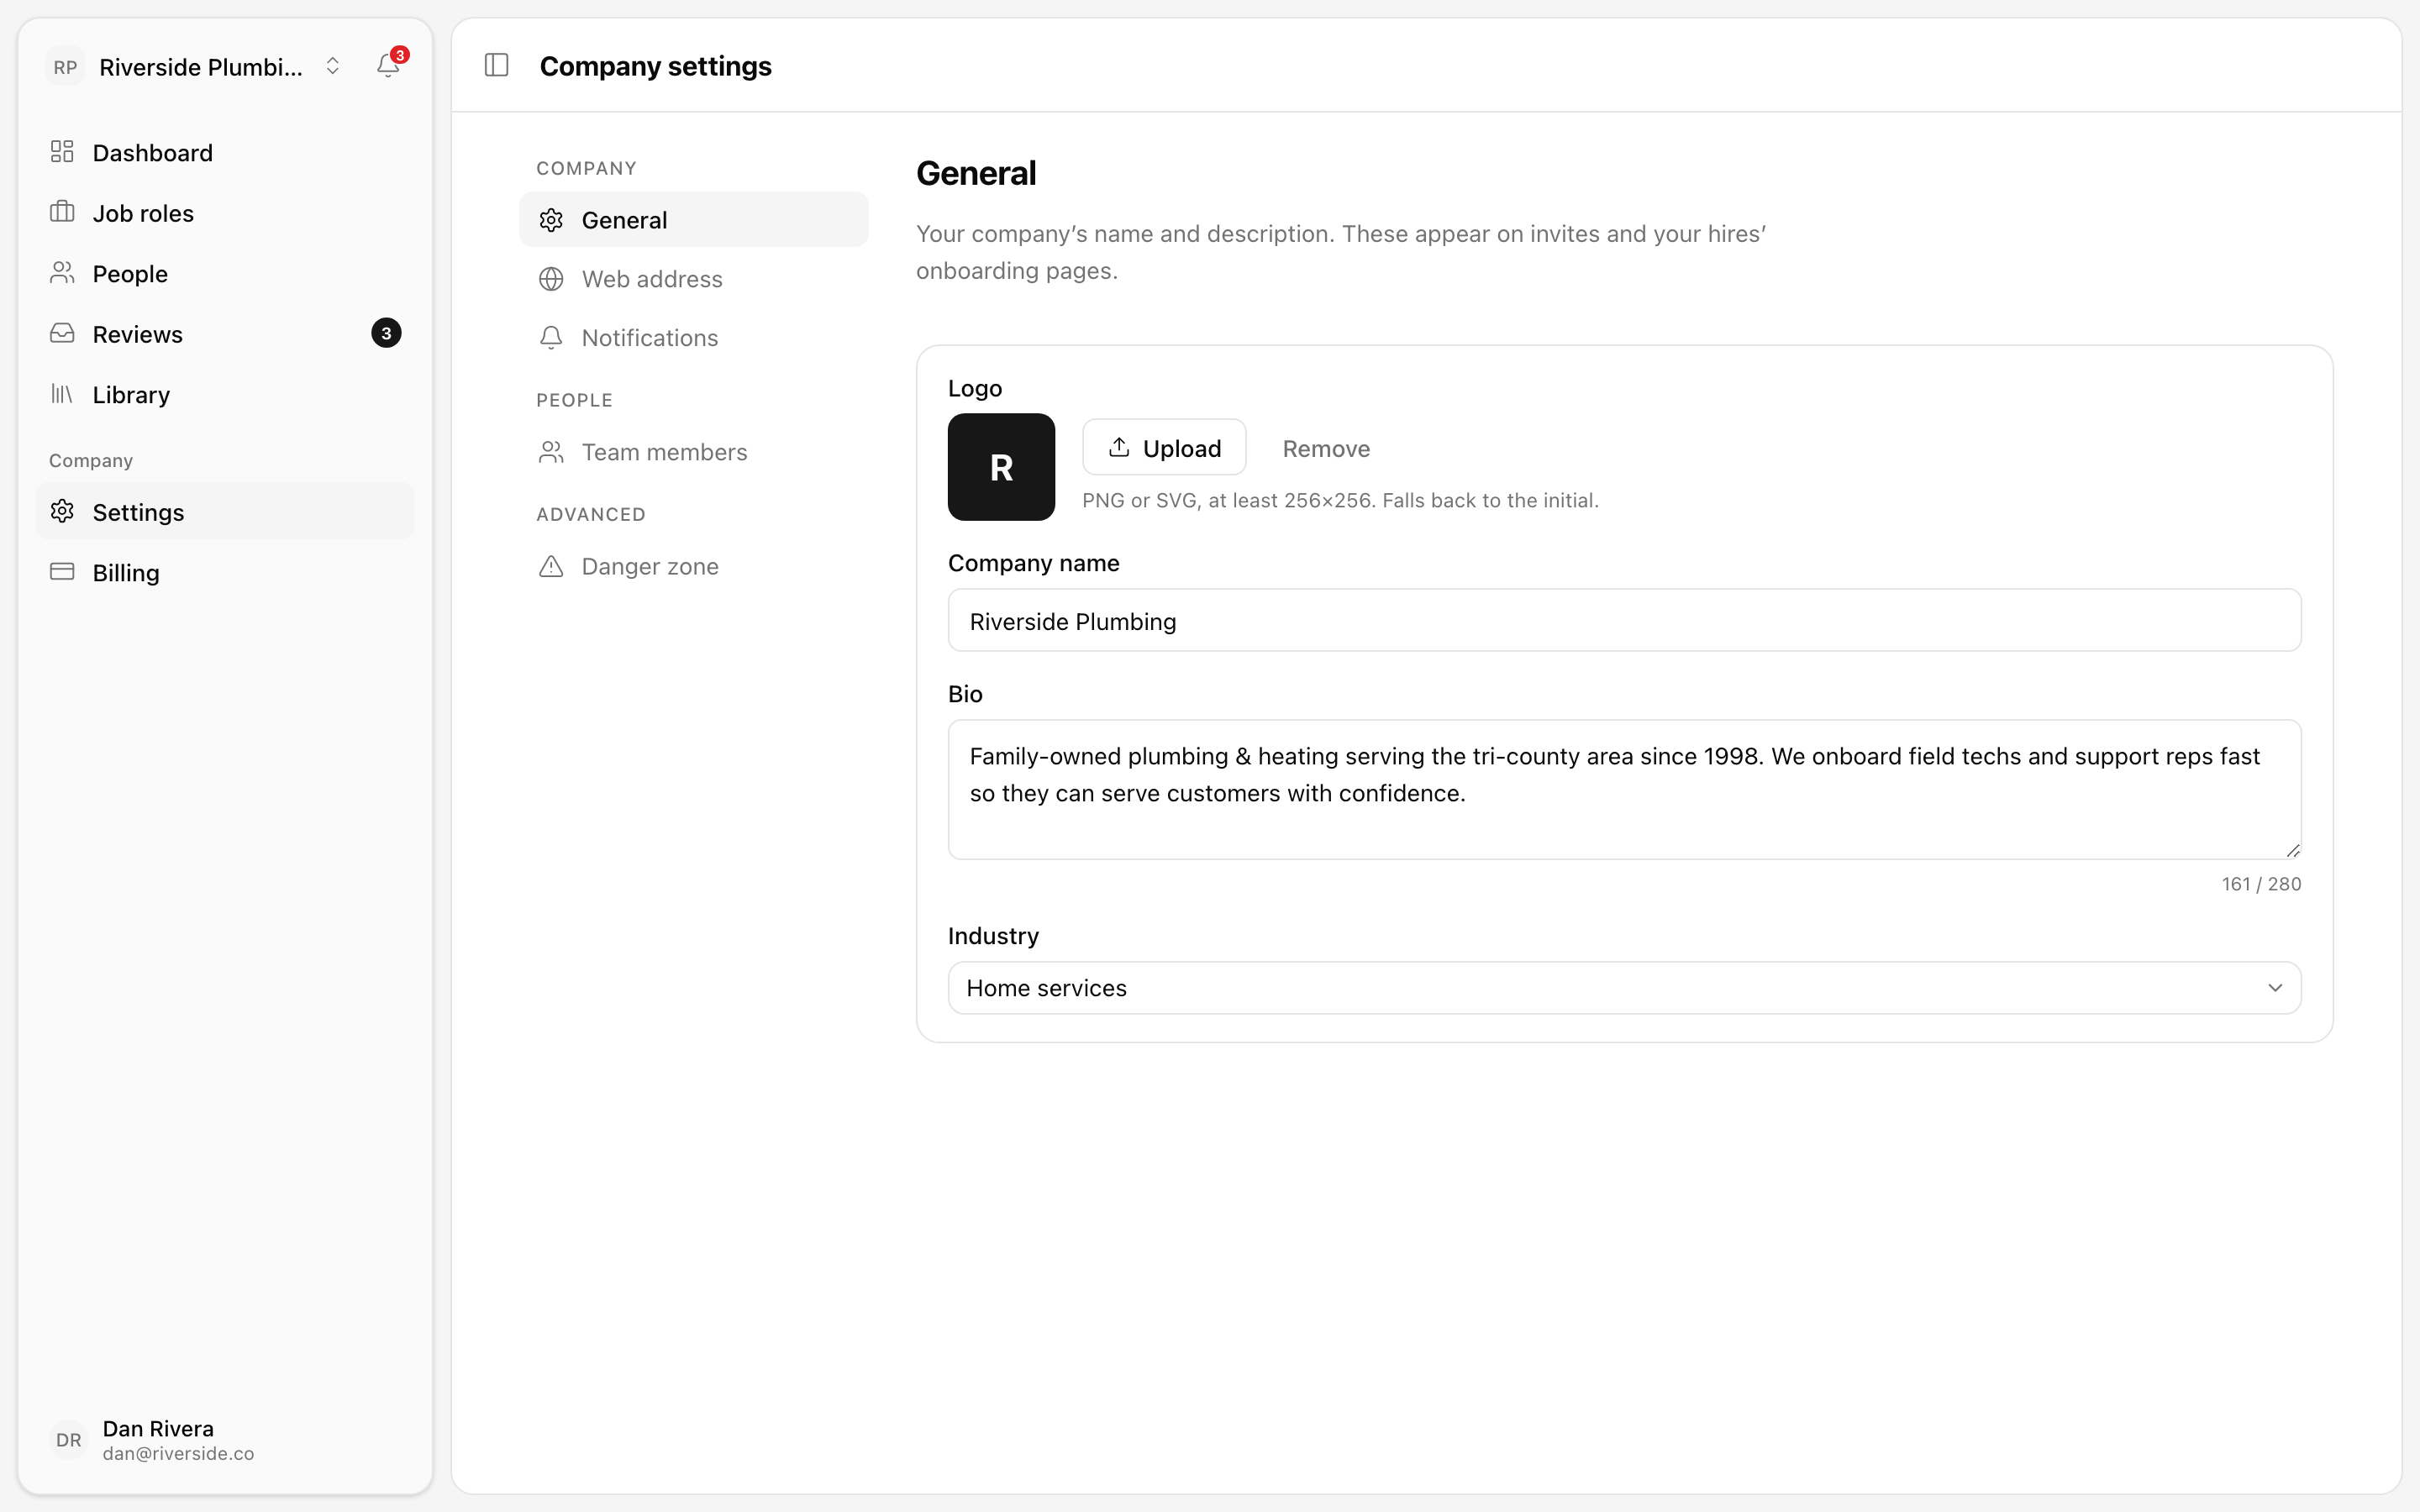
Here you'll set your company name, logo, bio, and industry. These aren't just cosmetic: they appear on the invites you send and on your hires' onboarding pages. It's worth getting them right before you start inviting people, so everything they see is branded as Riverside Plumbing from the first screen.
What's next
Once your team is in place, the next step is watching onboarding happen and reviewing the work your hires submit. See Track progress & review proof.